

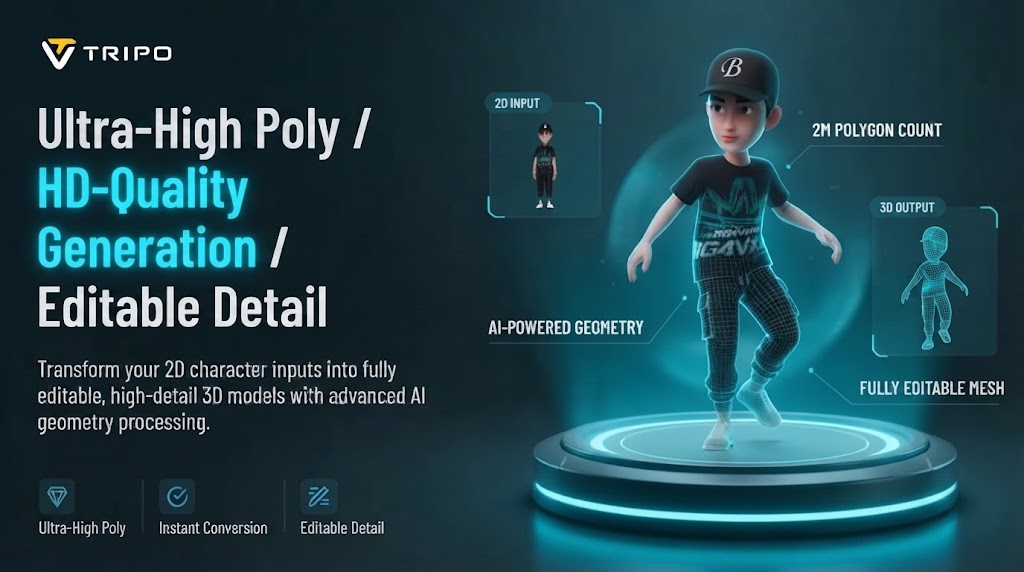
Image-based 3D workflows reconstruct depth, form, surfaces and proportions based on carefully selected image references. Tripo 3D offers flexible generation options for high-resolution 3D content in various digital processes. The number of polygons is important because geometric density determines how much detail is seen, how easy it is to edit the geometry, processing requirements and the complexity of the file.
A two-million-polygon target can accommodate complex shapes if sufficient source imagery with structure is available. This workflow brings together topology, textures, inspection, refinement and export decisions in a single workflow.
Understanding 2 Million Polygon Generation
Geometric objects are constructed of polygons, which represent the visible surfaces throughout a 3D structure. The more polygons used, the more smaller contours, smooth curves, edges and intricate physical features it can describe. Two million polygons offer a lot of geometric density, but can't be used on every surface to give the same detail.
The generated geometry is ultimately based on the complexity of the subject, the source imagery, models chosen and geometry generation settings. The 3D model generator can distribute geometric density around the visually relevant areas based on the available image evidence. The number of polygons should thus be used as a conscious setting, and not as an overall quality indicator.
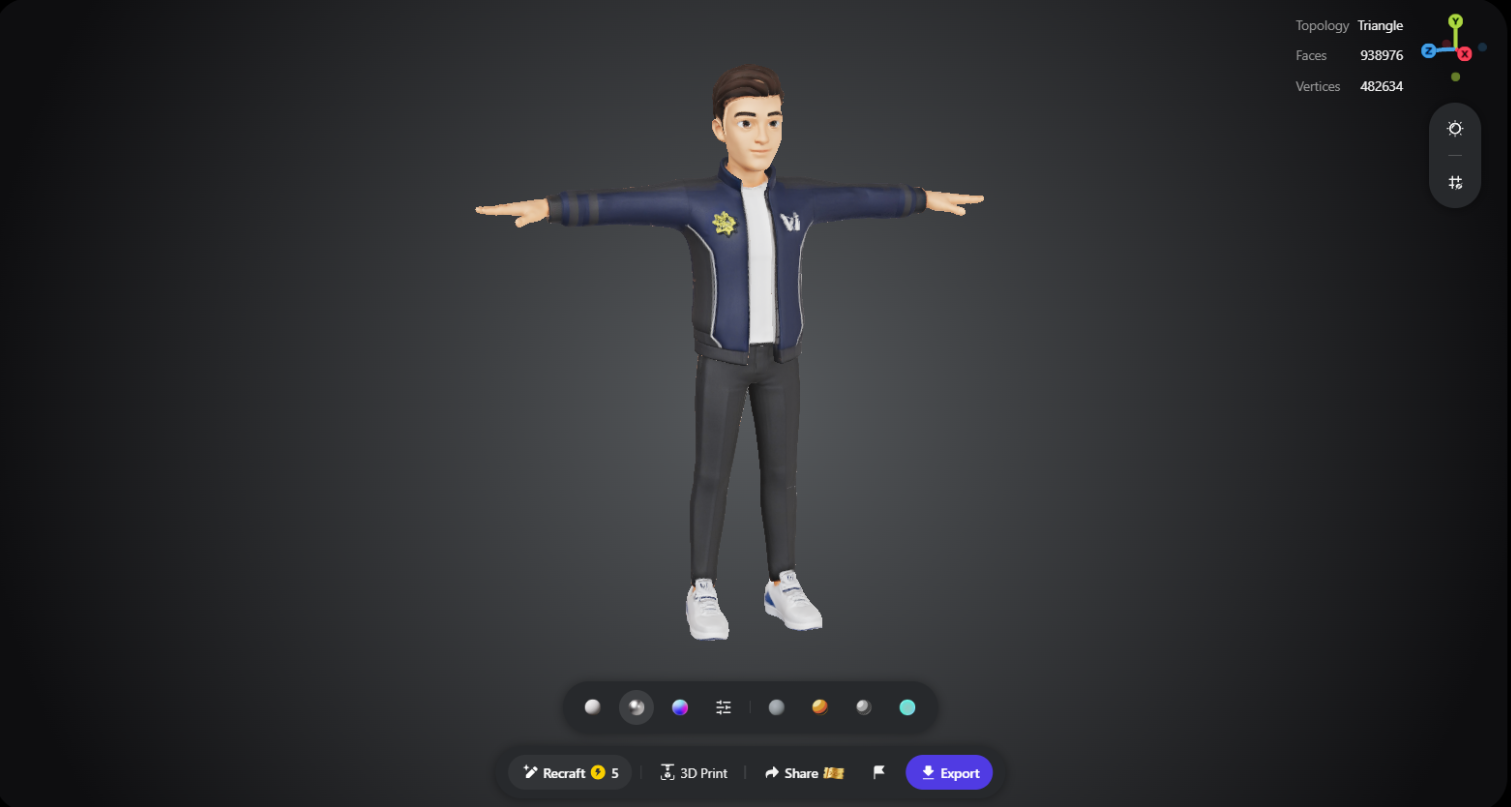
How Image Quality Influences Generated Geometry
Subject boundaries are clearly defined and offer more visual clues for understanding silhouettes, proportions and structural relationships. Shapes and surface details are critical to a clean image to 3D print workflow. Lighting can make edges harder to see, and strong shadows can make depth and surface separation harder to interpret.
Occlusion is another challenge, as hidden areas can not be seen in single-view reference images. Multiple viewpoints can be obtained from multiple views, and models generated from them are more consistent with respect to the visible sides. Input quality thus has a strong influence on the depth and structure inferred from the available visual information.
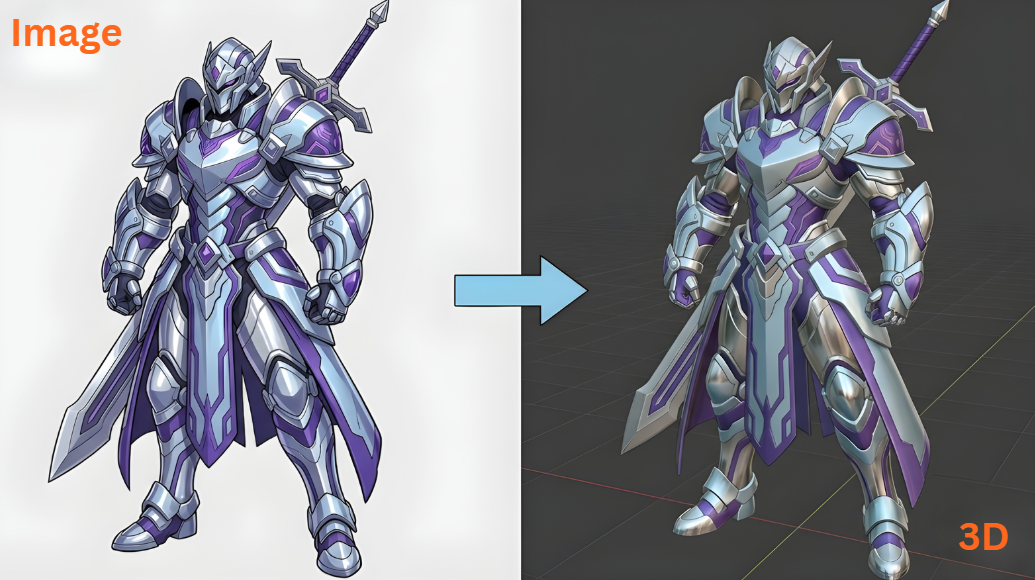
Steps to Generate 2m-Poly Assets With Image to 3d Model in Several Seconds For Detail
Step 1: Access HD Image Conversion
- First, access Tripo 3D and sign up. Then open the "Model" tab from the vertical left menu bar.
- Under the "Generate Model" menu, select the "HD Model" option.
- Next, open the "Image to Model" tab. You can drag and drop your image into the upload area. You can also use the "Upload" tab to select an image from a specific location on your device.
Step 2: Configure High-Poly Generation
- Open the "General settings" tab to adjust your "Geometry and Texture" options. Turn on "Ultra Mesh Quality" when you want a detailed and realistic model with a high polygon count.
- You can let the AI generate both the model’s geometry and texture by enabling the “AI Complete” switch in the Geometry & Texture panel. This switch allows AI to handle the geometry and texture generation within that panel. Alternatively, you can enable texture generation and select your preferred "Texture Quality", with options including 2K, 4K, and 8K.
- Turn on "PBR" if you want the generated materials to show accurate reflective properties.
- You can select either "Quad" or "Triangle" topology based on your model requirements.
- Set a custom polycount to 2M to control the level of geometric detail in your asset.
- Members can access the "Generate in Parts", "8K Texture", and "Privacy" options in the Members Only area on a trial basis ('Trial x1' per session). Note: Generate in Parts is billed separately using points.
- Choose a model from the available list. Tripo currently supports V3.1, V3.0, and V2.5, which differ in generation quality, stability, and intended scenarios. Note: V3.1 may result in longer wait times.
- When your settings are ready, click "Generate Model" to start creating your detailed asset.
Step 3: Inspect Detail and Export
- Once generated, you can view your model in different display modes. The available options include Wireframe Mode, White Model View, Texture View, Shader, and HDRI. You can also click "Refine" from the bottom menu to improve your design.
- Adjust the "Environment Settings" to change the viewing environment. You can also manage the camera through "Reset Camera".
- If you want a physical version, select "3D Print". You can also share the model directly by clicking "Share".
- To save your asset, click "Export" in the bottom menu. Choose the resolution, format, and filename. Then click "Export" again to save the model to your device, and reset the camera while examining geometry under different viewing conditions.
Configuring Geometry for High-Fidelity Assets
Customized polygon settings adjust the level of geometric density, editing requirements, processing, and compatibility with downstream software. The more target counts, the more contours and the more gradual changes in shape will be preserved across complex model surfaces.
The more there is to see in the pictures that are available for reconstruction, the denser the geometric structure that Ultra Mesh Quality can create. But dense meshes may require more memory and make retopology, animation and real-time deployment more difficult.
- Maximum geometric detail or efficient performance- it all depends on the intended applications.
- The editing plans can be designed to prefer easier meshes rather than highly dense geometry when making modeling changes later on.
- Topology can be used to benefit animation workflows, including the ability to deform, rig, and move around joints.
- For real-time applications, optimization of the generated detailed source meshes for interactive environments is often required.
- Closed geometry, dimensions and surface continuity are factors that should be taken into account in the fabrication workflows, as well as polygon density.
Separating Geometry From Surface Detail
Geometry is what shape the object is physically, and textures are the information that is visually displayed on the surface of the visible geometry. BaseColor maps represent the visible color/albedo data on the surface areas of the generated assets. Normal maps are used to represent smaller surface details without adding the same level of detail to the geometry.
High-resolution textures can retain a lot of detail without having to model every detail as geometry. Tripo 3D is capable of supporting rich texture workflows with an available 8K option for supported configurations.
For material appearance on appropriate assets, an 8K BaseColor map can be used, which includes 8192×8192 pixels. For additional surface data, 4096×4096 Normal and ORM maps are also supported for export.
Inspecting and Refining High-Polygon Models
There are several different viewports to aid in finding silhouette issues, surface artifacts, topology patterns and texture inconsistencies. During inspection, Normal and Solid View can help to explain the form without necessarily using lots of surface detail information in the form of texture. Textured View is useful for displaying material orientation, missing data and/or apparent texture variations across critical areas.
Unlit and Hologram Style views are alternative render types that can be used to examine the surface structure and form. Camera adjustments are important since a single source image will not expose all the generated surfaces directly.
Turn the model around and view critical areas from multiple perspectives prior to exporting the detailed asset. Consider using refinement as a separate evaluation stage and don't expect initial generation to be suitable for all applications.
Moving Detailed Assets Into Other Workflows
Detailed meshes can be used for modelling and visualization, prototyping, animation, gaming, 3D printing and more digital workflows. The most common export formats include USD, FBX, OBJ, STL, 3MF, and GLB, each suited for various downstream needs and software compatibility. Retopology can be useful when you need to use fewer polygons for interactive applications and the assets are dense.
Retopology can be automated to maintain important silhouettes while minimizing geometric detail for appropriate real-time workflows. Topology may be needed to stretch or bend around joints and moving parts of an animation.
A detailed mesh is one step in a much larger asset management process, and is not the end-point of quality. When reference imagery is not available or is limited, the text to 3d model workflow is another way to go.
Conclusion
The overall detail of the 3D assets that are generated is determined by a combination of image quality, polygon density, topology, textures, and refinement. The geometric ceiling that can be available is 2 million polygons, not a universal requirement for every project. Good references give more structure, and appropriate environments assign detail to use.
When geometry isn't necessary to convey detail, high-resolution textures can be used. With deliberate configuration, usable 3D assets can be created without thinking of polygon count as the sole determinant of quality.
